An engineering site visit checklist is critical for most projects. It’s the reality check that keeps designs grounded in the real world.
Site visits are the ultimate way to get up close and personal with a project and the client. You’ll usually find yourself making site visits during these project stages:
- Project kickoff to grasp the work scope
- Design phase to fine-tune project details
- Construction phase to tackle problems
- Start-up post-construction to ensure everything’s running smoothly
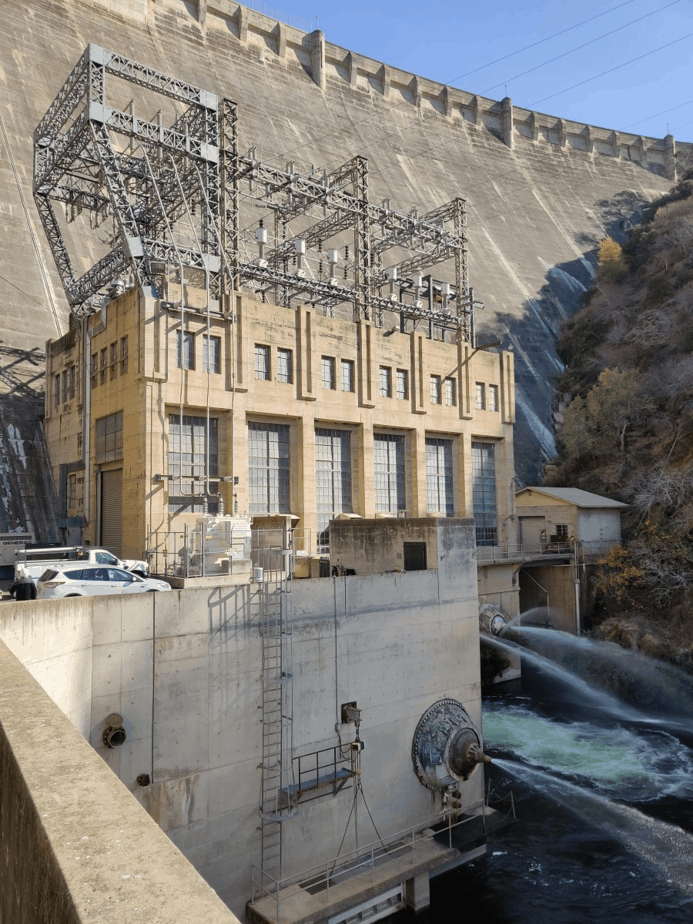
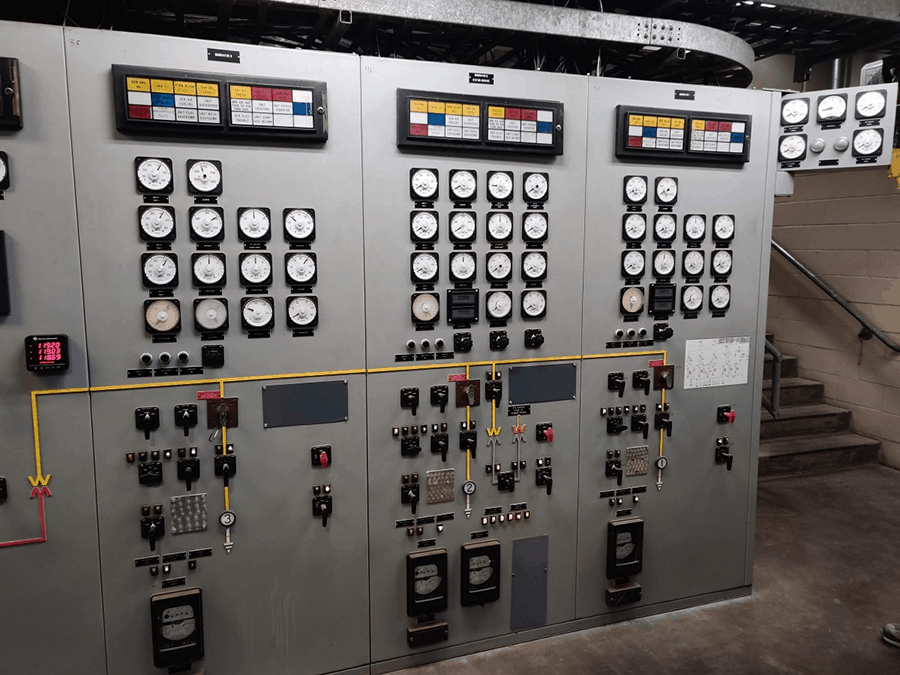
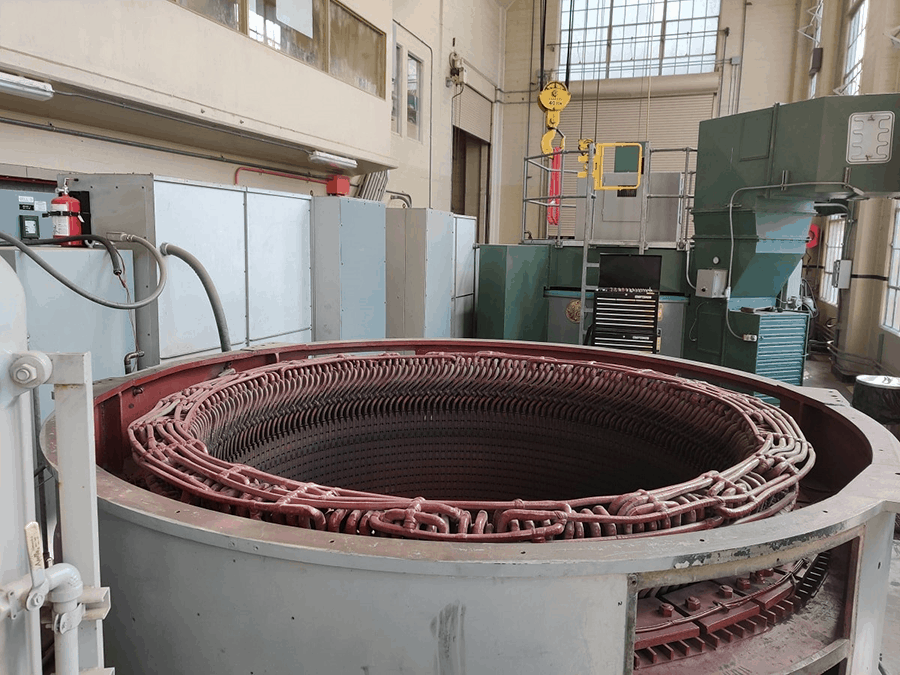
To make the most of each site visit, follow my 6 engineering site visit checklist tips. I’ll focus on design phase visits, but these takeaways apply to all stages. Also, enjoy some rad photos from a hydroelectric facility I helped retrofit.
#1 Map out a solid plan of action for your site visit
Preparation is the name of the game. Before I set foot on a site, I know exactly what I need to do there.
Take this example: say my project is to upgrade an existing substation for increased capacity. I’d first make a list of questions for the client and items to investigate at the site.
Client questions might include:
- Do you have existing as-built drawings and specs?
- How much new load are you forecasting?
- Can you break down the existing loads?
- Are there any issues I should know about?
- Is any existing equipment causing trouble?
- How much space is there to expand the substation?
- What’s your lead time for this project?
- How much downtime can you handle during the cutover phase?
- Are other upgrades needed (e.g., security, protective relaying)?
My site investigation checklist would include:
- Confirm equipment ratings
- Measure clearances
- Snap photos inside panels (e.g., control panels)
- Inspect existing equipment (e.g., switchgear, transformers)
- Measure space for new equipment
- Check transmission and distribution line connections
- Look for facility quirks or safety concerns
Keep in mind, I might tackle some tasks over the phone or through email before the visit. This way, the client can gear up for our powwow and avoid wasting precious time.
For instance, there have been times when I forgot to mention that I needed to inspect panel X. At the site, the client told me they couldn’t access it.
Come prepared to keep site visits efficient
When you visit a site, your client will most likely show you around. You won’t have all the time in the world to explore and brainstorm on the fly. Besides, you don’t want to come across as a clueless, unprepared engineer.
So, treat a site visit like any other high-stakes meeting. Some site visits can take months to arrange, so it’s best to know exactly what you want to achieve before you even set foot on the site. You don’t want to return from the visit kicking yourself, thinking,
“DAMN! I forgot to take photos of the control panel’s interior!”

Important Note: Don’t forget to ask your client about any site safety concerns. This is crucial for your safety and everyone around you.
I’ve been to sites with live 230,000-volt equipment and experienced treacherous drives to sites where I’ve nearly met my maker.
#2 Investigate the site thoroughly
Time to channel your inner Sherlock Holmes! Your blueprint for this detective work is the action plan you create in tip #1.
You’ll want to check if the client’s scope of work has any limitations, or if there are other issues your client forgot to mention. Sometimes, the work scope seems straightforward on paper, but once you’re on site, you uncover a whole slew of unexpected problems.
I like to compare it to our ambition to travel and colonize Mars. From Earth, the mission appears simple: send a couple of big rockets to Mars and create an artificial habitat that provides oxygen and protection from extreme cold, high radiation, and low atmospheric pressure.
However, the reality is mind-blowing. The challenges are enormous, and there’s a never-ending list of problems we haven’t even considered yet. Just take a look at some of the issues I’ve listed here when it comes to tunneling on Mars alone.
The point is, don’t just rely on what your client tells you. You’re the expert, so it’s up to you to investigate the site and determine what’s best for your client. After that, you can discuss your findings with them and fine-tune the work scope.
#3 Snap loads of pictures at the site
Nowadays, everyone has a high-end camera in their pocket with their smartphone. You can take endless top-quality photos on a whim. But, you need to know how to take great photos at a project site too.
Otherwise, when you return to your office, your photos might only cause more confusion. To avoid this, I’ll share four tips on how to take and manage pictures (and videos) effectively.
A) Organize and separate your photos on site
Picture yourself at a project site, snapping away photos, feeling like you’ve got everything under control. You think you’ll remember why and where each shot was taken. But let’s be real, once you’re back in your office, it’s a hot mess trying to figure out which photos belong where.
Imagine taking 50 pictures at location A and another 50 at locations B and C. To keep things organized, I whip out my trusty notepad, jot down the location or equipment, and snap a photo of it. Here are some examples of what I write:
- Inside building X looking at the west wall
- Inside the left-most cabinet of switchgear ‘Faulk’
- Investigating high voltage cabling of switchgear ‘Faulk’
With my digital divider in place, I only then start snapping field photos. Once I’m done, I move on to the next spot and repeat the process. Trust me, this technique is a lifesaver when you’re dealing with hundreds of photos.
B) Take photos in a patterned consistent manner
So, you want to capture the components in a 90-inch tall control panel? First, step back and get an overall shot of the panel. Then, zoom in and snap photos of the components from top to bottom.
This way, you can easily understand the mounting arrangement of the components in the zoomed-in photos. I’ve had moments where I didn’t take zoomed-out photos, and back in the office, it was a nightmare trying to follow the wiring of the components. Super frustrating!
C) Upload and organize your photos ASAP
Get those photos uploaded and organized right after your site visit, while everything’s still fresh in your head. If you missed any of the earlier photo tips, you’ll remember the details and make a note.
Next, turn each of your written notes from photo tip ‘A’ into separate folders. For example, if you took pictures at three different spots on your project site, your digital file organization would look something like this:
Main folder: Site Visit at Zeus Substation (DD/MM/YY)
Subfolders:
-
- Location #1
- Location #2
- Location #3
Lastly, give each of your photos a detailed name. Invest a little time now, and you’ll save yourself from future headaches.
D) Take a lot of photos
Back in the day, film was expensive, so you had to be stingy with your shots. But now, there’s no reason not to go photo-crazy! Plus, you can review the quality of each photo right there on the spot.
So go ahead, take loads of photos and even videos. They’ll only help you back at the office. I say, if a photo has even a 1% chance of being useful, take the shot! You never know when those seemingly pointless pics might save the day.
#4 Bring all your necessary supplies to the site
Depending on your field of engineering, you’ll have a bunch of supplies to bring along. My list is always pretty lengthy. Don’t expect your client to hook you up with supplies, especially since they’re paying you!
So pack for the unexpected and bring all your gear just in case. You never know when you’ll need to measure a piece of equipment or pry open a panel. If you’re not prepared, you’ll miss out on valuable data.
#5 Forge a strong connection with your client during site visits
Nothing beats getting to know your client face-to-face, right? Sure, digital communication is a breeze these days, with everyone clutching their trusty smartphones.
But, let’s be real – in-person interactions still reign supreme. That’s why I think site visits are the perfect chance to bond with your client.
Without a face to match the name, you’re just another entry on their spreadsheet. Genuine human connections, on the other hand, pave the way for deeper relationships. This usually leads to smoother project execution. Plus, your future requests are less likely to be left hanging.
#6 Show up on time for your site visit
This one’s a no-brainer, but punctuality is key. Actually, aim to be 10 to 15 minutes early. You don’t want to make a lousy impression by keeping your client waiting.
Go the extra mile to pinpoint the precise site location in advance. This might mean asking your client for map snapshots and off-the-beaten-path directions. After all, some engineering project sites can be in the boonies, with no physical address that your GPS can easily locate.
I’d recommend downloading the site map on your phone, just in case you lose signal. Alternatively, use a non-internet-dependent GPS device.
And if you’re running late, give your client a heads-up with a phone call. At the end of the day, professionalism is paramount.
Engineering site visit checklist wrap up
Site visits play a huge role in engineering projects. The better you tackle site visits, the more successful projects you’ll spearhead.
My advice? Learn about site visits specific to your engineering field. Pick the brains of seasoned engineers to discover what to look for during site visits. Then, tweak your engineering site visit checklist as needed. You might uncover something unique to your line of work that I didn’t cover.
What do you find the most important about engineering project site visits? What’s on your engineering site visit checklist?